Unveiling the Troubleshooting Guide: Resolving Bcom LAN 12.6 W2K3 8 64 A03 File Errors and Solutions
Introduction to Bcom_LAN_12_6_W2K3_8_64_A03.exe
The Bcom_LAN_12.6_W2K3_8_64_A03.exe file is a driver package for Bcom LAN adapters on Windows Server 2003 64-bit systems. It is a part of the NetXtreme II family of drivers by Broadcom.
If you are experiencing errors with this file, there are a few solutions you can try. First, make sure you have the correct version of the driver for your system. You can check the driver details in the ReadMeFirst file or on the Dell website.
If you are installing the driver, make sure you follow the installation instructions provided in the installer directory. Use the InstallShield software installation utility and select the appropriate options for your system.
If the errors persist, you may need to update your chipset driver. Look for the Intel_5500-5520-Chipset-Soft_A02_R269378.exe file and install it.
If you still encounter issues, it is recommended to contact Dell or Microsoft for further assistance.
Evaluating the safety of Bcom_LAN_12_6_W2K3_8_64_A03.exe
When evaluating the safety of Bcom_LAN_12_6_W2K3_8_64_A03.exe, it is important to consider the following factors:
1. Compatibility: Ensure that the file is compatible with your operating system, such as Windows 7 or Windows Server 2003.
2. Authenticity: Verify the source of the file and ensure that it is from a trusted and reputable provider, such as Intel or Broadcom.
3. Driver details: Check the driver details to see if it matches the hardware or device you are using, such as NetXtreme or Fiber Channel adapters.
4. File size: Compare the file size to the official download to ensure it is not corrupted or tampered with.
5. Installation process: Follow the provided instructions carefully and use the recommended installer, such as InstallShield or Software Installation Utility.
By considering these factors, you can ensure the safety and reliability of Bcom_LAN_12_6_W2K3_8_64_A03.exe for resolving file errors and finding solutions.
Common errors related to Bcom_LAN_12_6_W2K3_8_64_A03.exe
- Check for Corrupted File:
- Open File Explorer by pressing Windows Key + E.

- Navigate to the location where Bcom_LAN_12_6_W2K3_8_64_A03.exe is saved.
- Right-click on the file and select Properties.
- Go to the General tab and check the file size. Compare it to the expected file size, which can be obtained from the software’s official website.
- If the file size is significantly different, the file may be corrupted. In this case, proceed to the next repair method.

- Download a Fresh Copy of Bcom_LAN_12_6_W2K3_8_64_A03.exe:
- Visit the official website of the software.
- Locate the download page for Bcom_LAN_12_6_W2K3_8_64_A03.exe.

- Click on the download link to get the latest version of the file.
- Save the file to a location on your computer.
- Disable Antivirus and Firewall:
- Open the Start menu and type Windows Security.
- Click on the Windows Security app to open it.
- In the app, click on Virus & Threat Protection and then click on Manage Settings.
- Disable the Real-time Protection toggle switch.

- Go back to the previous menu and click on Firewall & Network Protection.
- Disable the Domain Network, Private Network, and Public Network toggle switches.

- Run Bcom_LAN_12_6_W2K3_8_64_A03.exe as Administrator:
- Locate the downloaded Bcom_LAN_12_6_W2K3_8_64_A03.exe file on your computer.
- Right-click on the file and select Run as administrator.
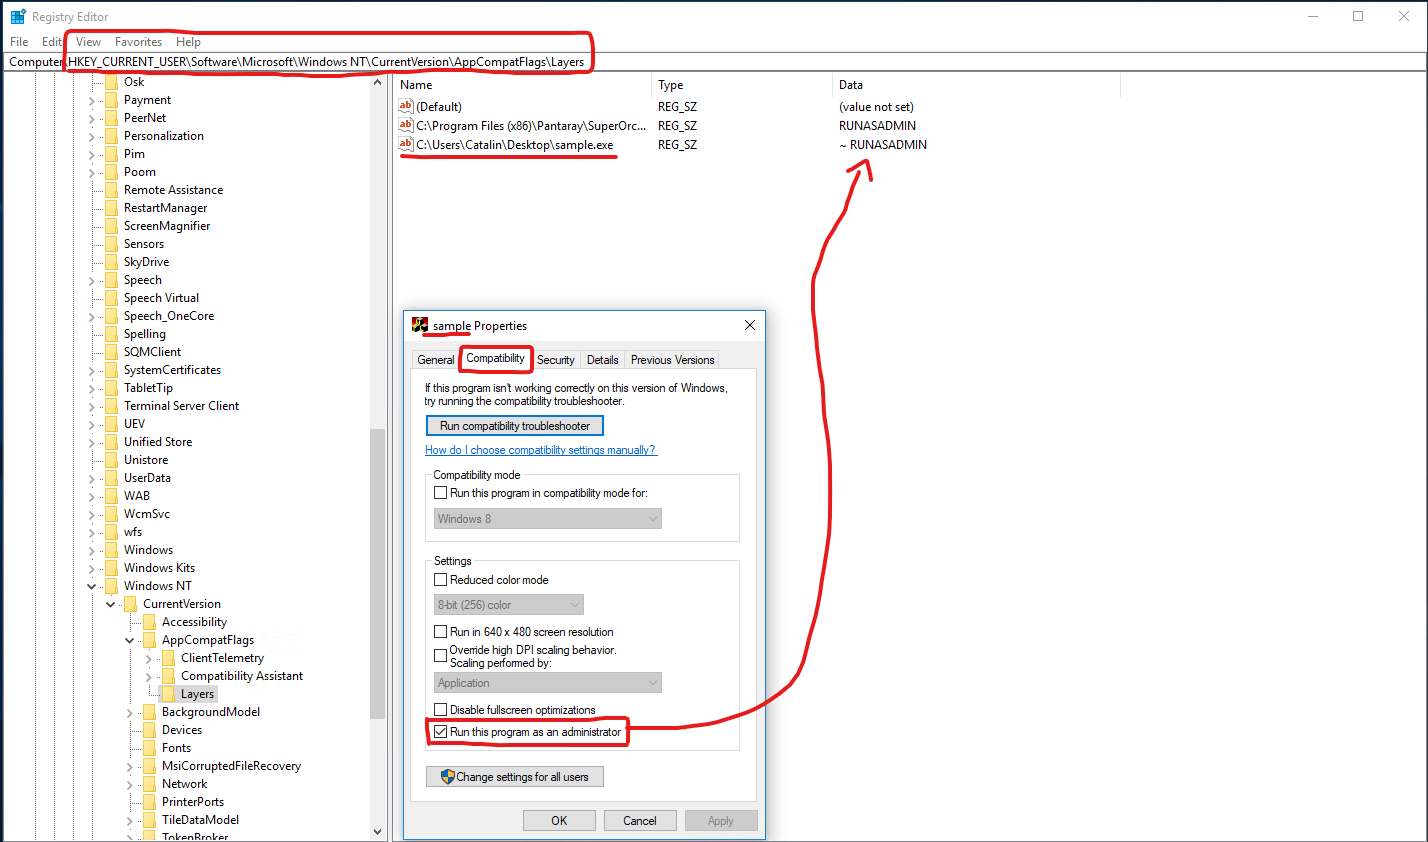
- If prompted by the User Account Control, click Yes to grant administrative privileges.
- Follow the on-screen instructions to complete the installation or repair process.
- Update Device Drivers:
- Open the Start menu and type Device Manager.
- Click on the Device Manager app to open it.
- Expand the relevant category where the device related to Bcom_LAN_12_6_W2K3_8_64_A03.exe is located (e.g., Network Adapters).
- Right-click on the device and select Update driver.
- Choose to automatically search for updated driver software.
- If a newer driver version is found, follow the on-screen instructions to install it.

Repairing or removing Bcom_LAN_12_6_W2K3_8_64_A03.exe if necessary
1. Determine if you need to repair or remove the Bcom_LAN_12_6_W2K3_8_64_A03.exe file by assessing any file errors or issues you are experiencing.
2. To repair the file, follow these steps:
– Go to the directory where the file is located.
– Right-click on the Bcom_LAN_12_6_W2K3_8_64_A03.exe file and select “Repair” from the options.
– Follow the on-screen instructions to complete the repair process.
3. If repairing the file does not resolve the issue, you may need to remove it from your system. To do this:
– Go to the directory where the file is located.
– Right-click on the Bcom_LAN_12_6_W2K3_8_64_A03.exe file and select “Remove” from the options.
– Follow the on-screen instructions to remove the file completely.
4. After removing the file, check if the issue still persists. If it does, you may need to seek further assistance or consider alternative solutions.
Remember to always backup your important files before making any changes to your system.